Building an information display using a kindle and Ikea frame
A few weeks ago, I discovered Magic Mirrors and decided that I want to build one, too. I began to research what I would need and how much it would cost. When I was at the point of figuring out how to mount the mirror at the spot I had chosen for it, I noticed that it only was a drywall and that much weight probably wouldn’t hold for long.
I didn’t want to give up so easily and looked for other options to display information such as time, date, weather and upcoming birthdays. Then I found my old Kindle in a drawer. I hadn’t used it in years, so I wondered if it might be able to fulfill another purpose than just displaying ebooks. I remembered there was some kind of browser on it, so I figured it should be possible to display all kinds of information. Also, the e-ink display is a touch screen at the same time, so I could even use it as a smart-home control.
One thing led to another, and a few moments later I found myself searching the web for a possibility to mount a kindle on the wall. This seems to be a rather rare usecase and I was not able to find anything on that topic. Luckily, I had a small frame from Ikea laying around unused, in which the kindle could fit with a few adjustments.
In order to not let you read a wall of text until you find what you want, I’m going to stop writing prose here. Instead, lets make this a brief tutorial.
Part 1: Hardware
What you’ll need
Materials
- Old Kindle which can be Jailbroken (we’ll get to this later on)
- Small frame, such as this one
- Wooden sticks (5x5mm), I got me these
- Thick paper or white cardboard
- Hot glue
- 2 nails or screws
- (Optional) Micro-USB cable and USB-charger
Tools
- Sandpaper
- Hot melt gun
- Fine saw
- Cutter knife
- Hammer or screwdriver
- (Optional) Drill

Build steps
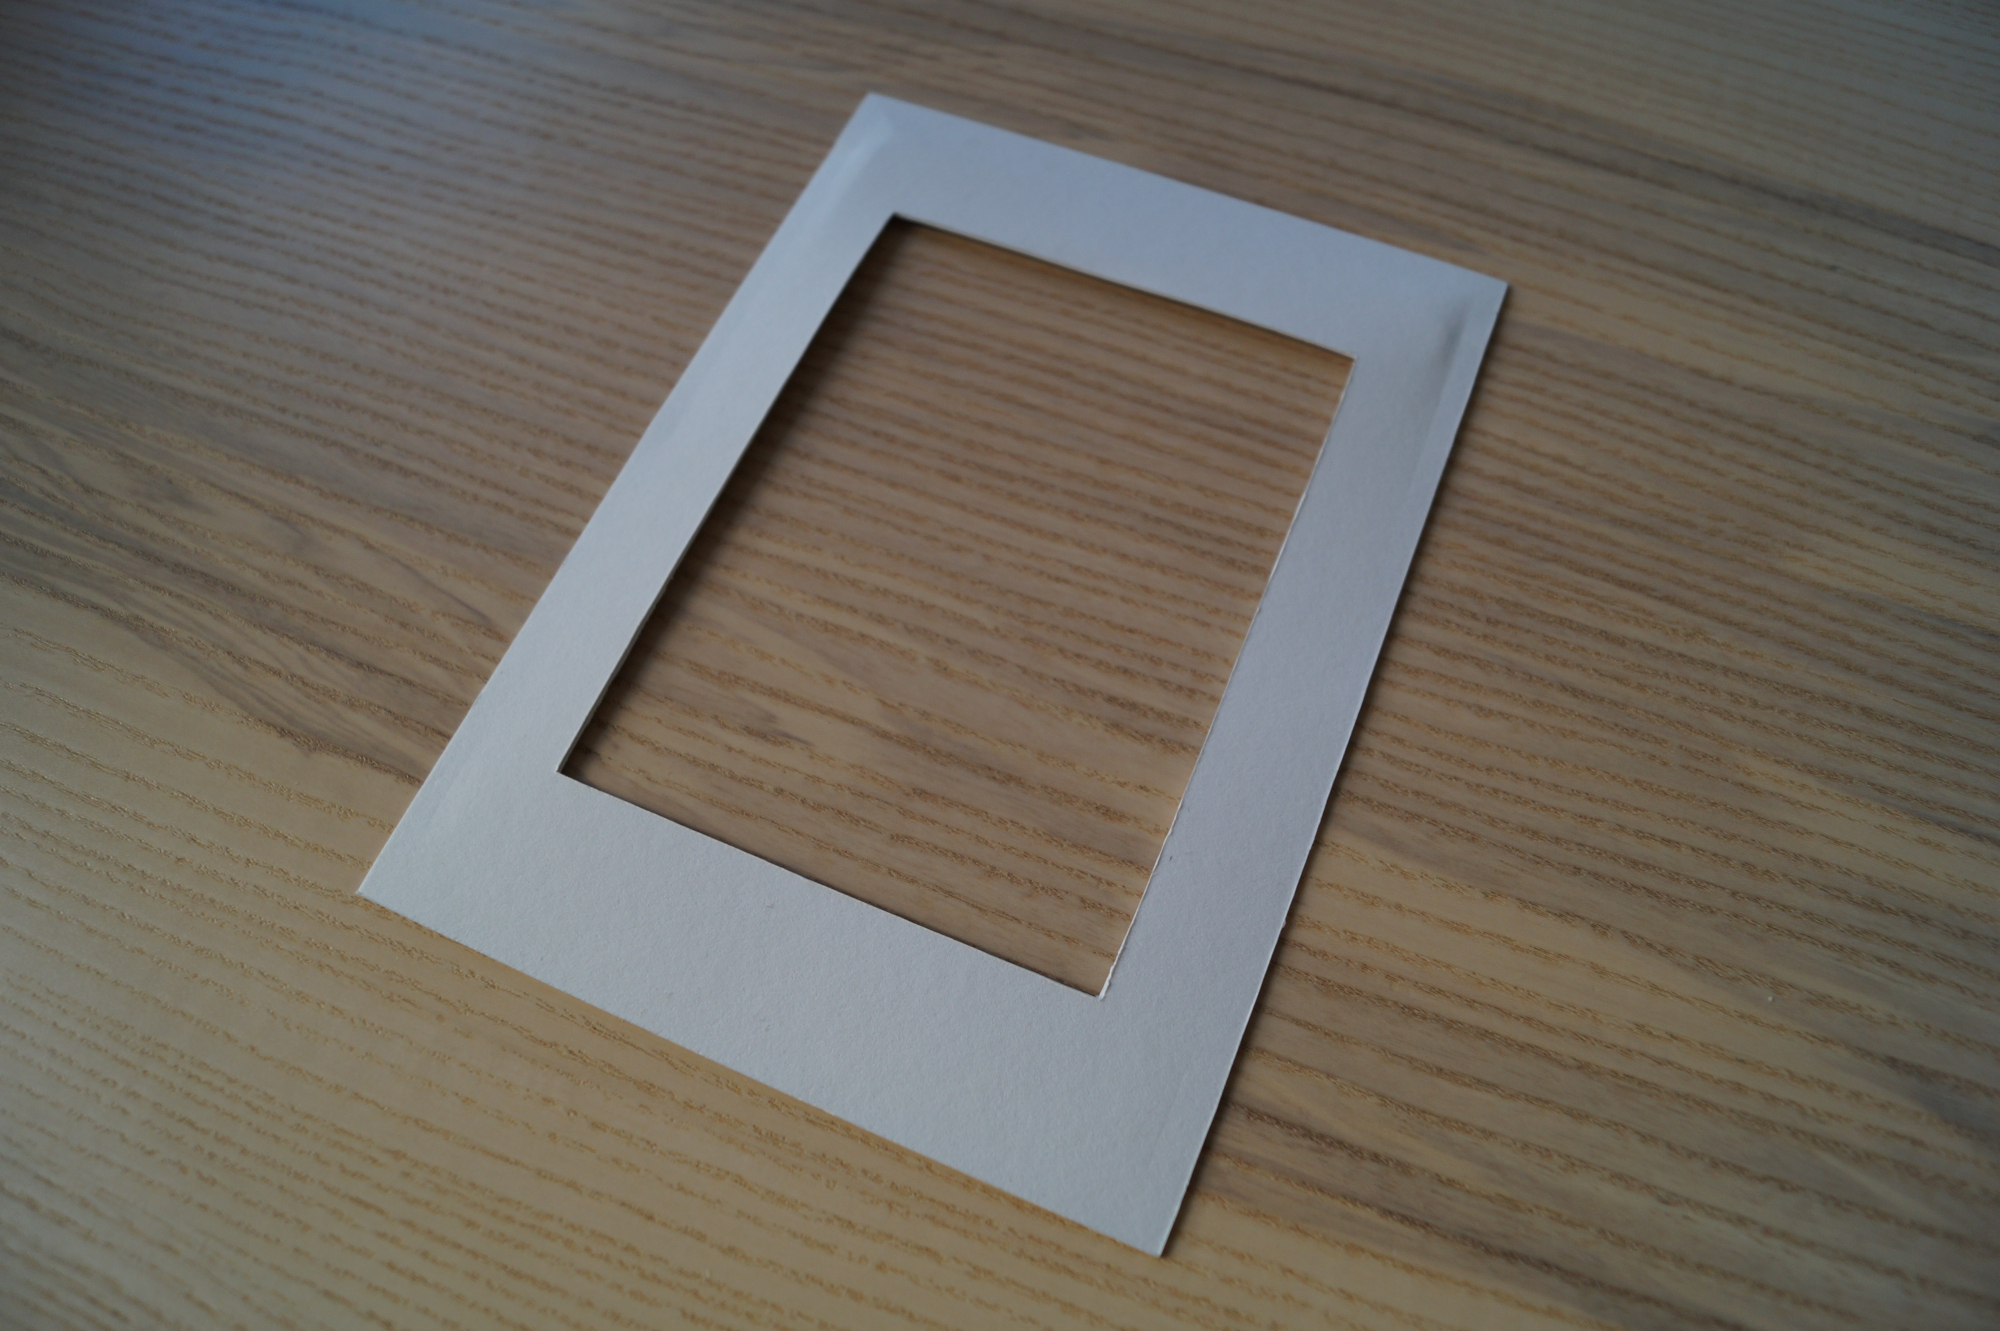
Cutting the mat
Cut the paper/cardboard so that its outer dimensions fit the inner frame (13x18cm) and the inner ones fit the screen of the kindle (9x12cm). The result shoud look somewhat like this:
Fixing the Kindle inside the frame
If you lay the Kindle on top of the mat at this time, you’ll notice the frame is a bit larger than the device. In order to fix the kindle inside the frame, the wooden sticks are needed.
First, cut/saw five pieces of about 5cm and glue them together as shown in the right side of the following picture:
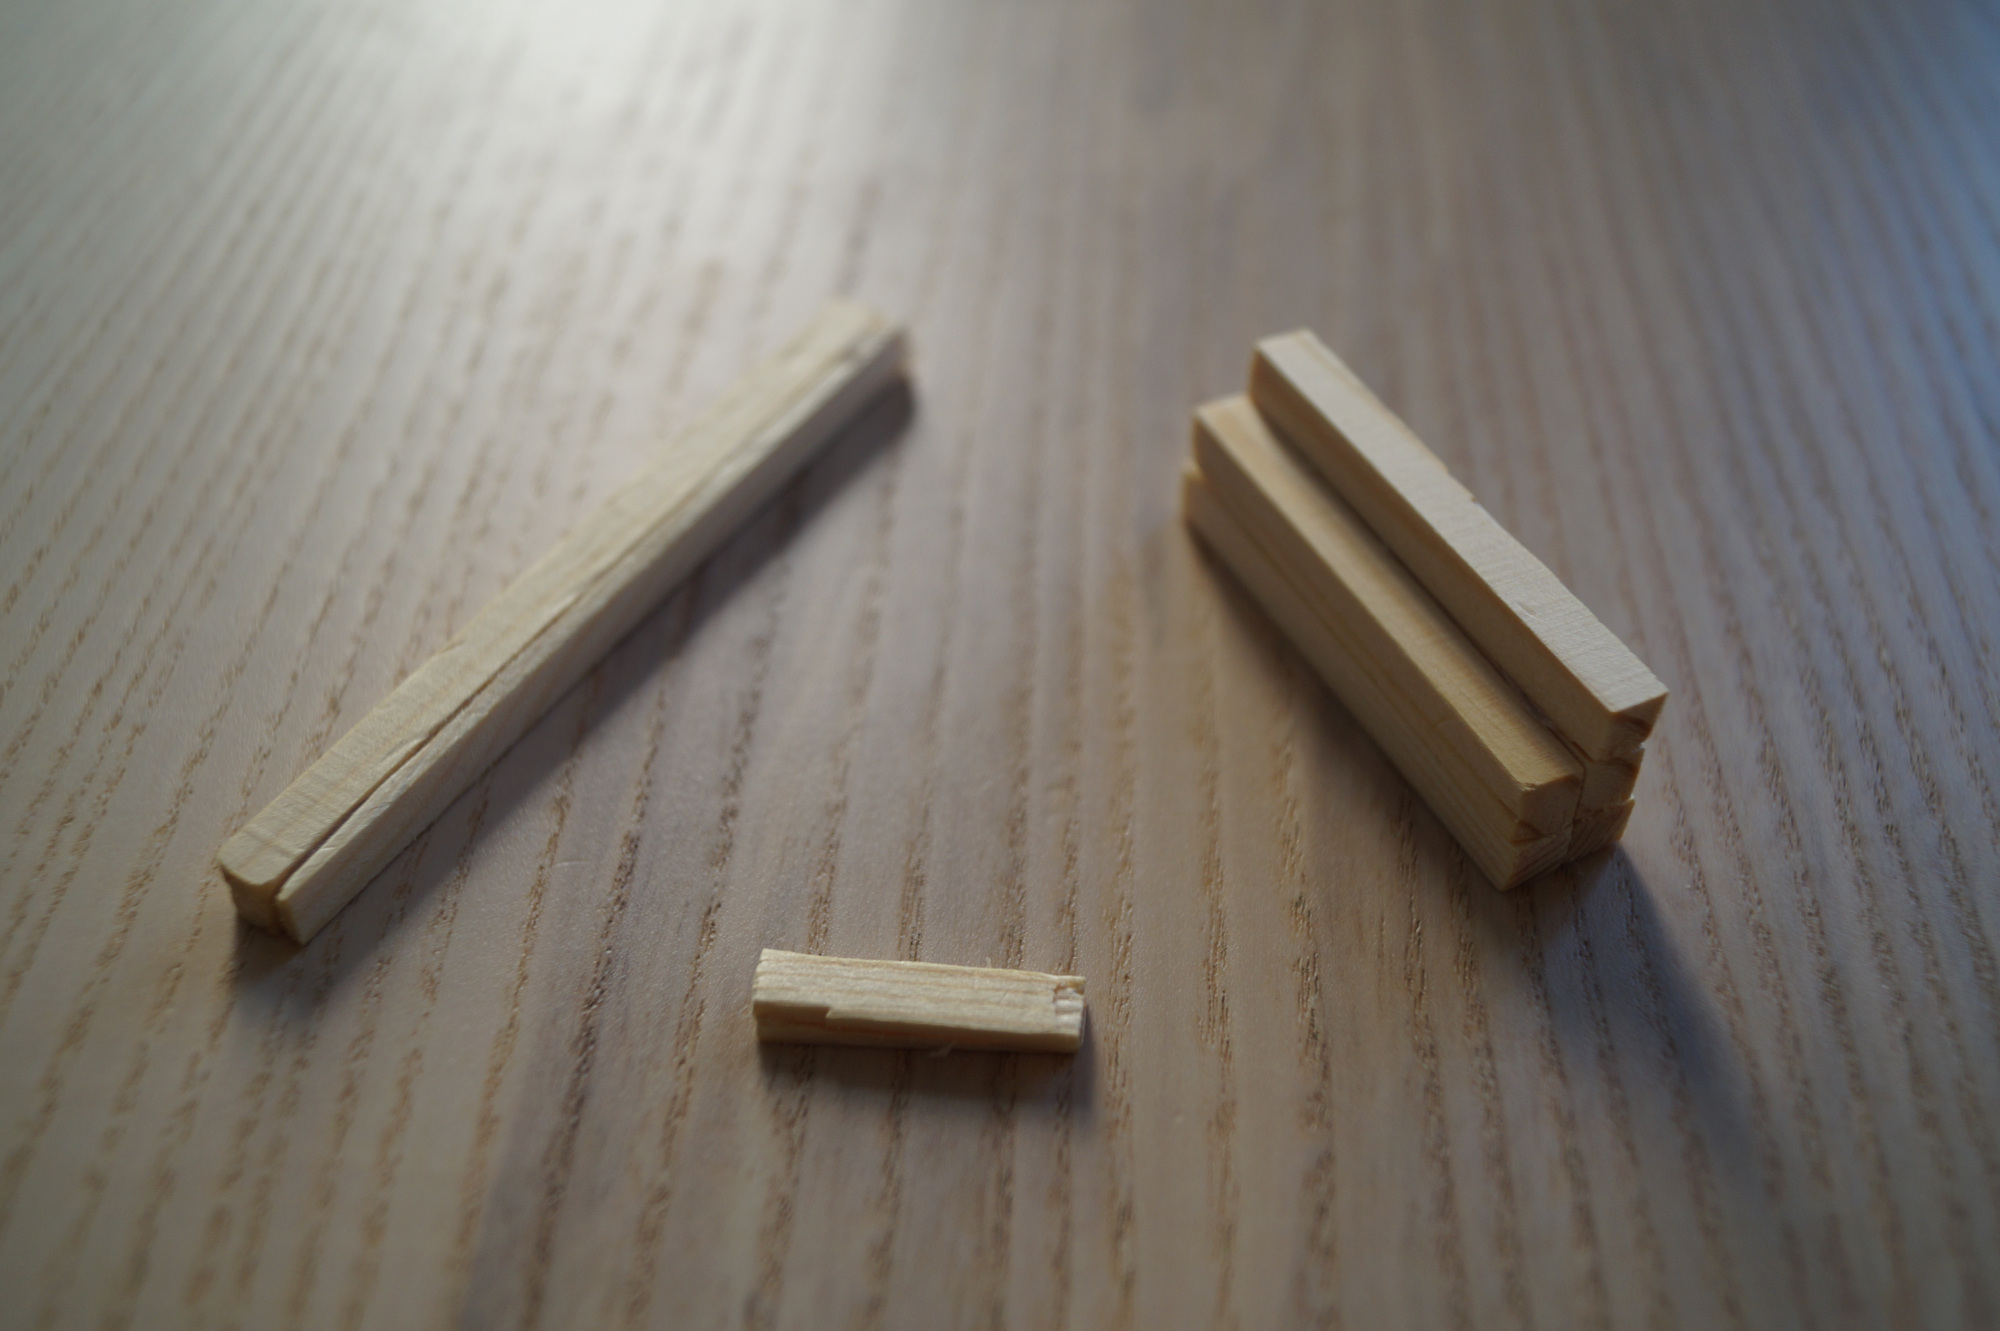
Afterwards, repeat that process, because we need two of those. Next, you’ll want to saw off three pieces of about 7cm. One of them then needs to be cut in half lengthwise and glued to the remaining two. You might need to sand those to be a bit thinner so that they fit into the space between the Kindle and frame (but not too thin, as they must still fixate it).
The small (and last) pieces are the ones you’ll probably spend the most time on. For me, about 1/3rd of the original diameter was about right, but it might be different for you. Their length doesn’t matter that much (see below) and it helped me to make them a little wedge-shaped. Just make sure they’re thick enough so that the power button of the Kindle is not constantly pressed.
When you finally have all pieces at the right size and shape, you’ll be able to stuff them into the frame alongside with the Kindle, like so:
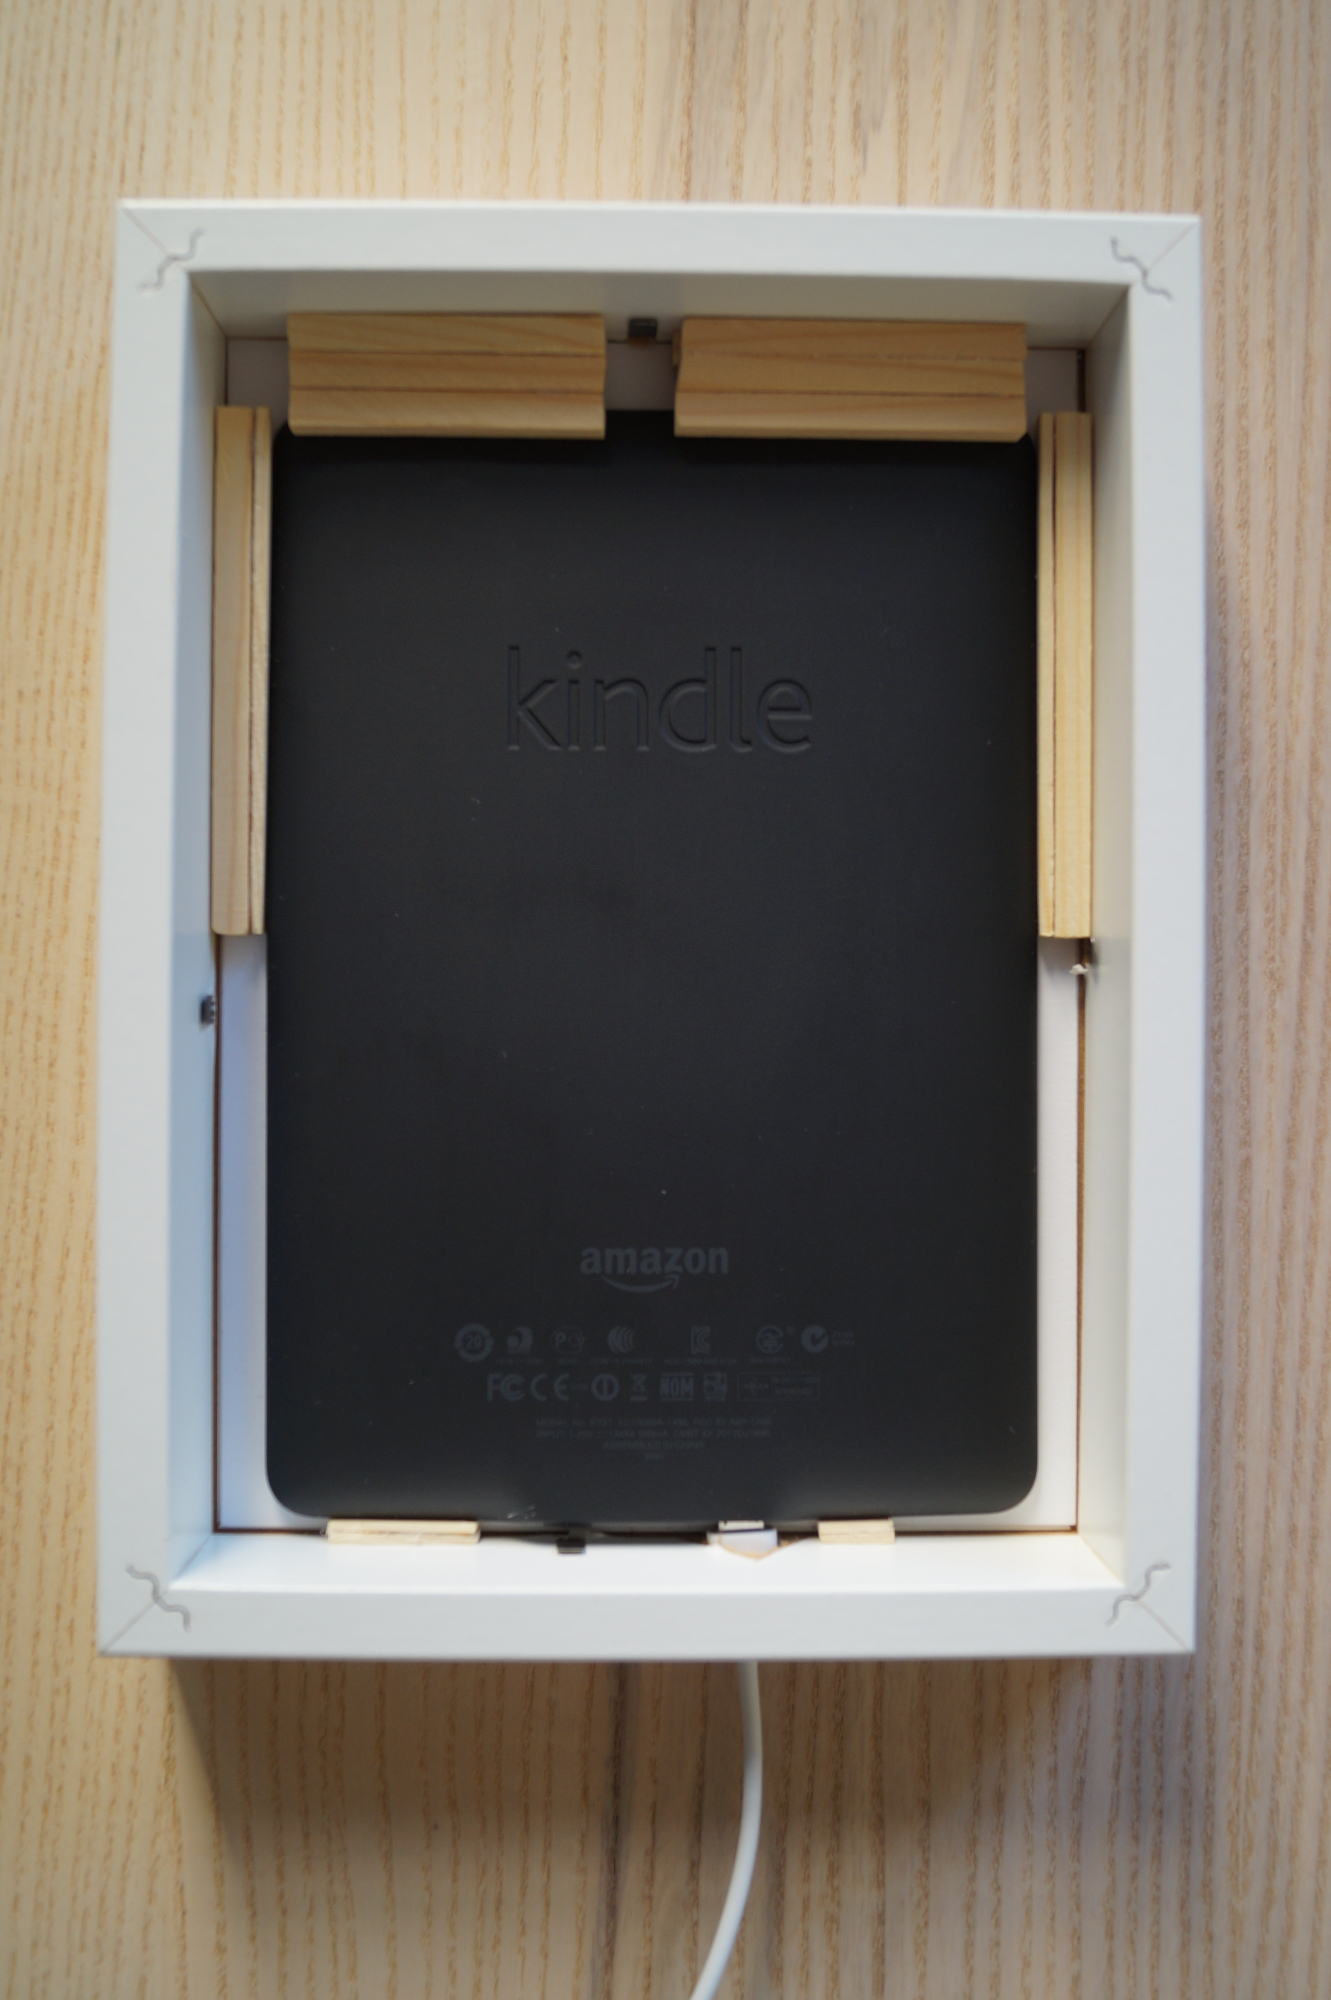
In my case the Kindle doesn’t move when using its touchscreen, but can be removed from the frame by pulling out the wooden fixations. Someone with better crafting skills will probably be able to find a better alternative for fixing the Kindle (please let me know if you do).
(Optional) Drilling a hole for charging
If you want to keep the kindle plugged in at all times (which I would recommend) instead of charging it a few times a week, you’ll need to drill a hole in the bottom of the frame. The exact position depends on the diameter and shape of the plug of your micro-USB cable, but I put my marker about 6cm from the left (if looking at the frame’s front) and 1,2cm from the front.
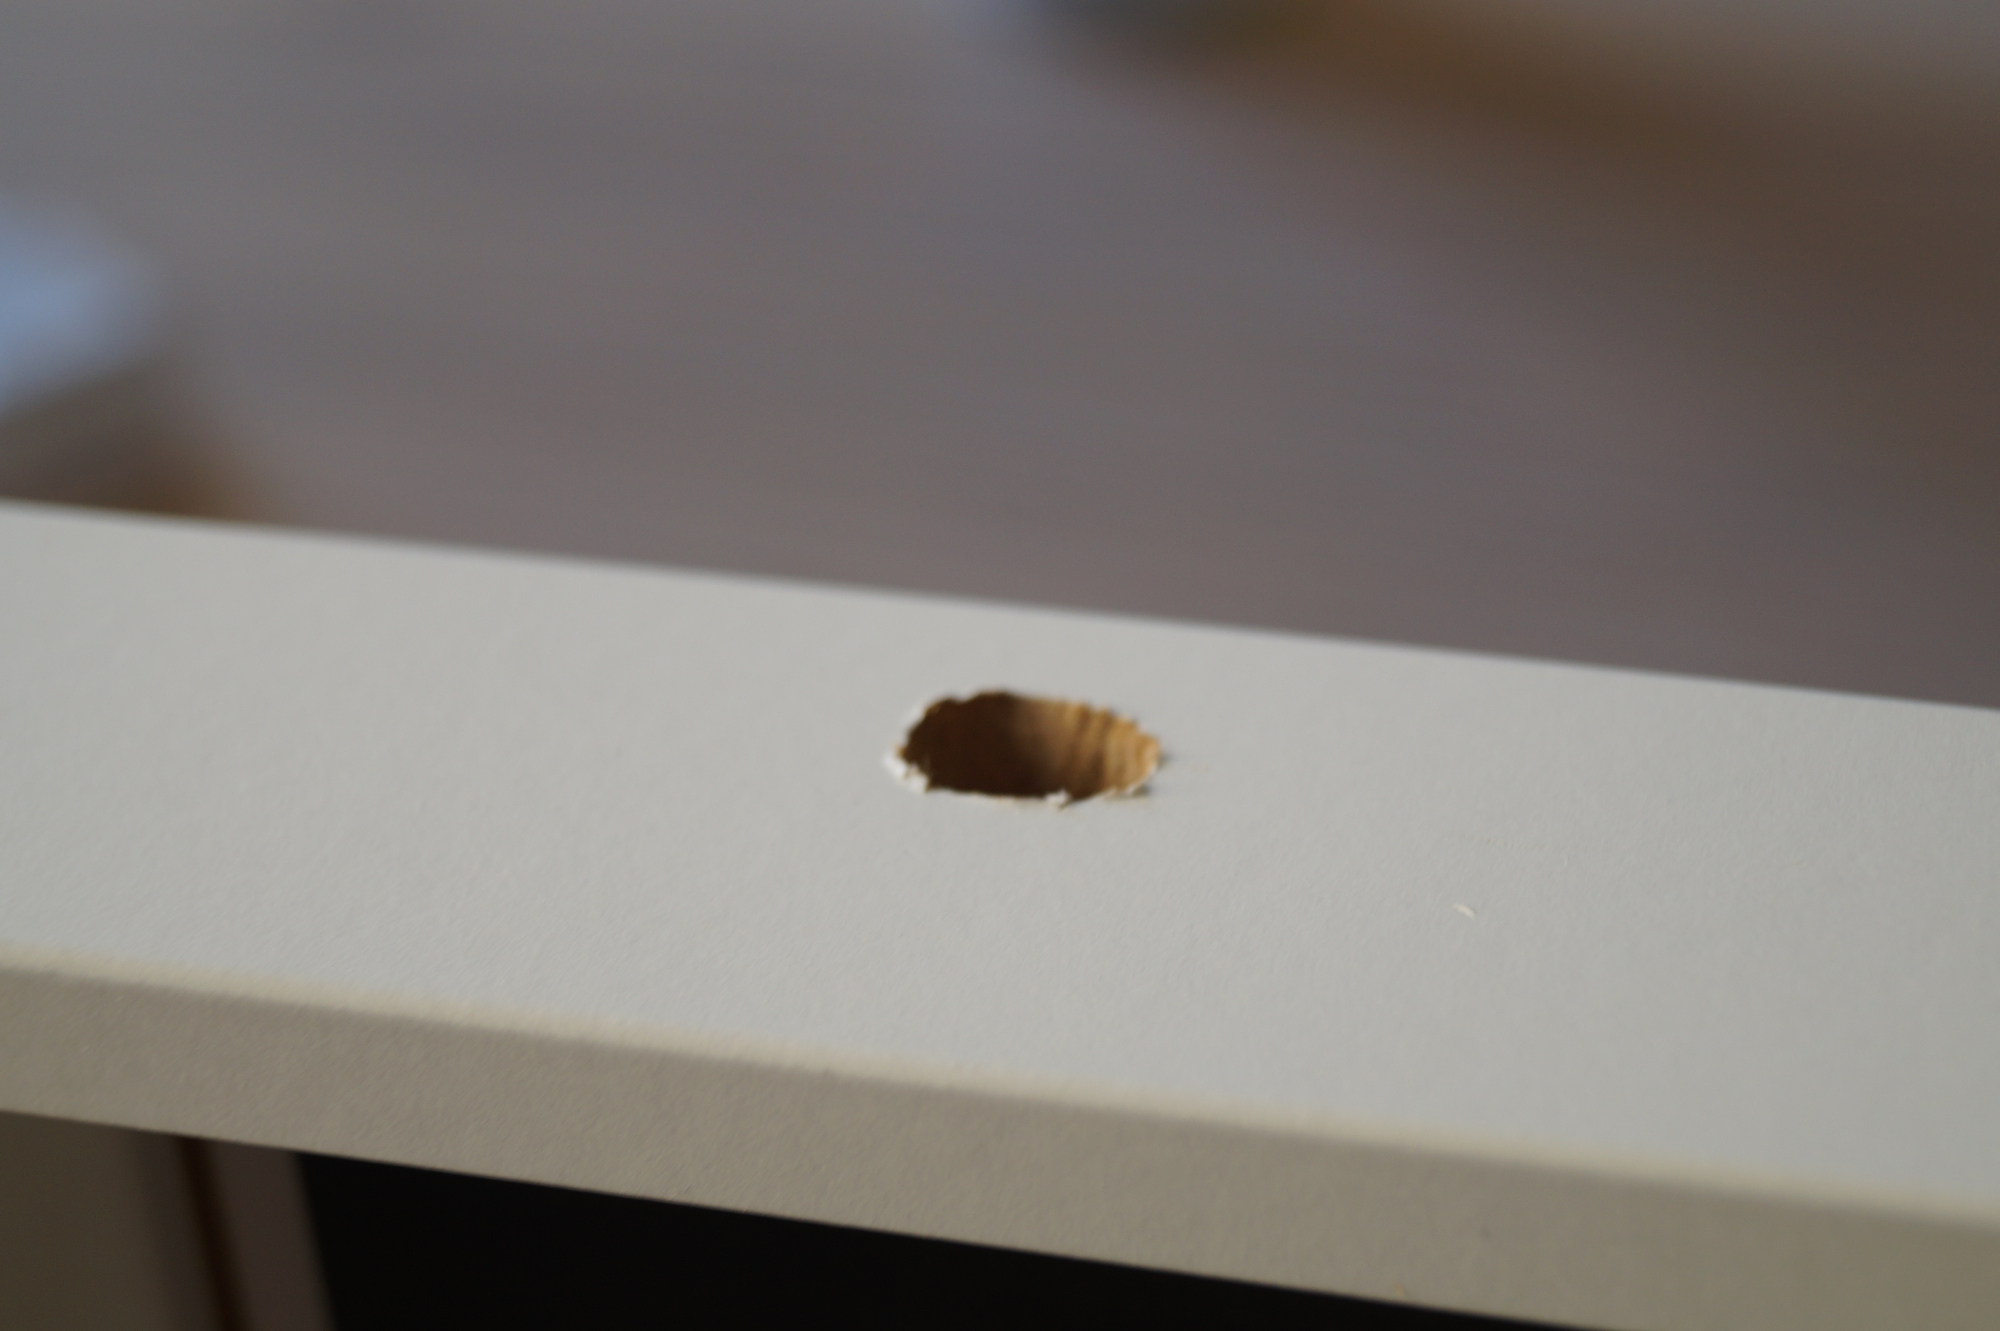
After you’re done drilling the hole, you probably want to sand the edges of it so that the cable doesn’t chafe while plugging it in.
Part 2: Software
Displaying information
As mentioned before, we’ll use the integrated browser of the Kindle to display things. In order to do so, I wrote a small website, which displays the current weather, forecast and upcoming birthdays. You can find it here. Please refer to the project’s README.md on how to get the website up and running.
Jailbreak
First things first: I’m not going to describe how to Jailbreak a Kindle here. The are several tutorials one can find easily by using a search engine.
“Why would I even want to Jailbreak my Kindle?”, you may ask. Well, you don’t have to, but if you do not want to press the power button every time you want to read the information and also would like to get rid of the address bar, there’s no other option.
After you have successfully Jailbroken your Kindle, you need to install the Kindle Unified Application Launcher (KUAL) and add the WebLaunch extension. Then just edit WebLaunch’s settings.js to point to your website instance (and disable the screensaver) and you’re done.
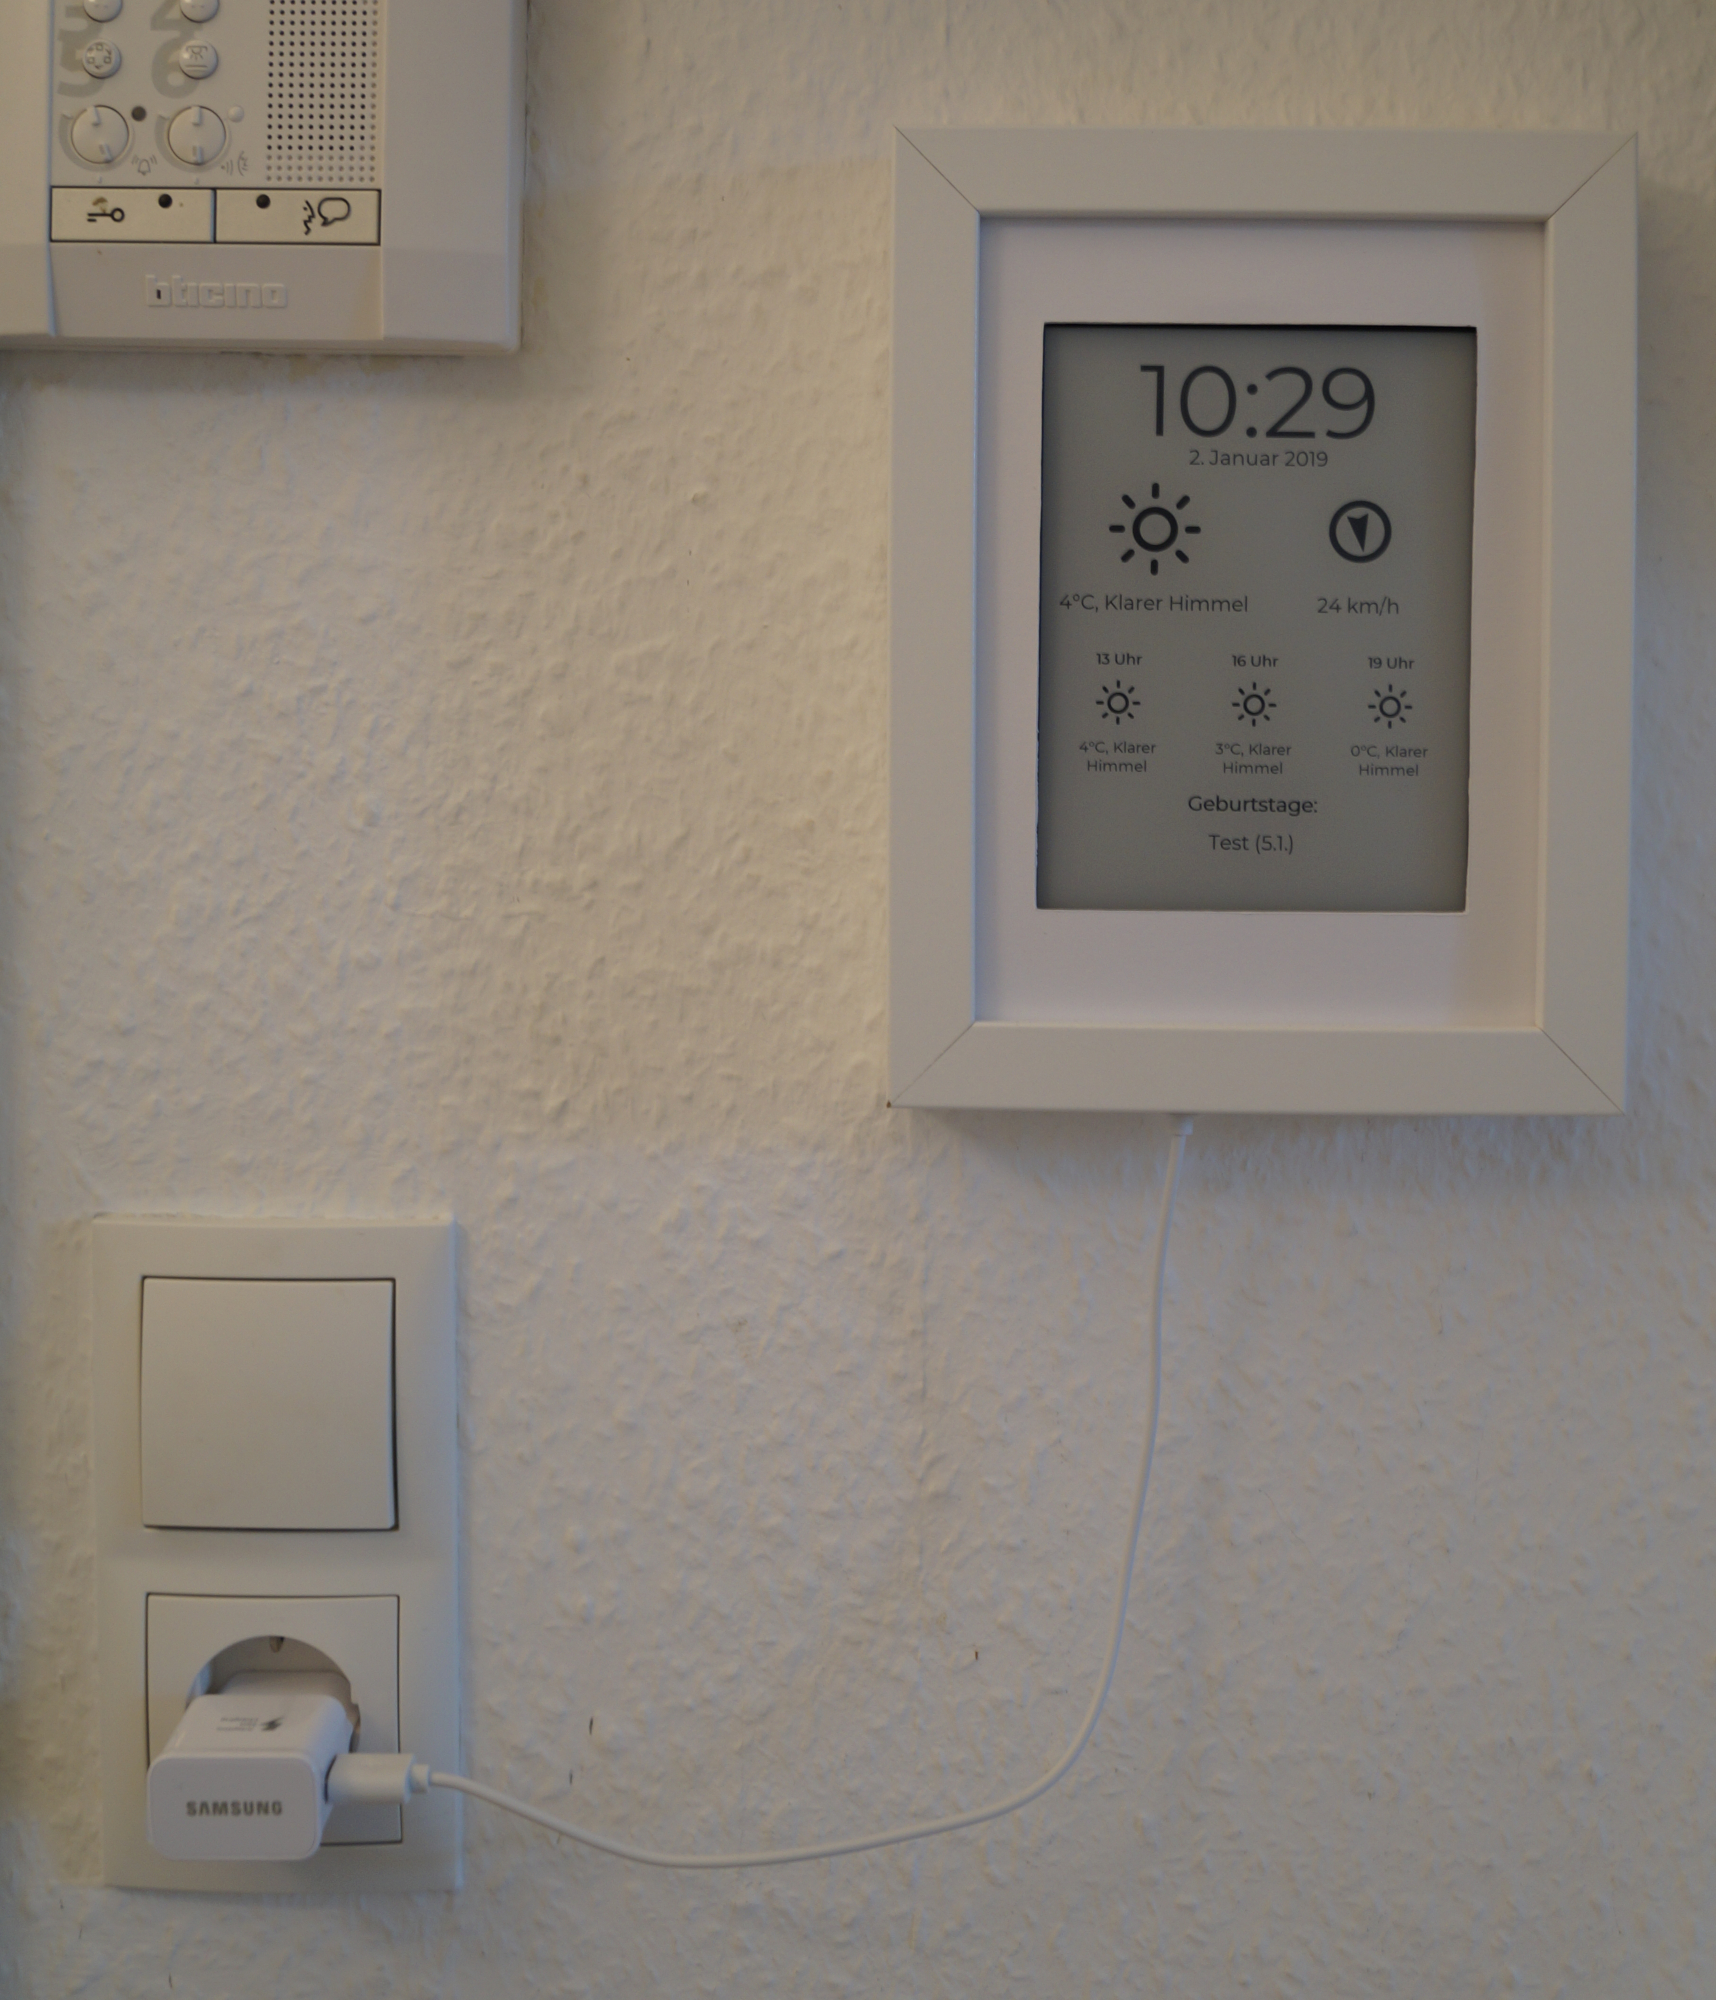
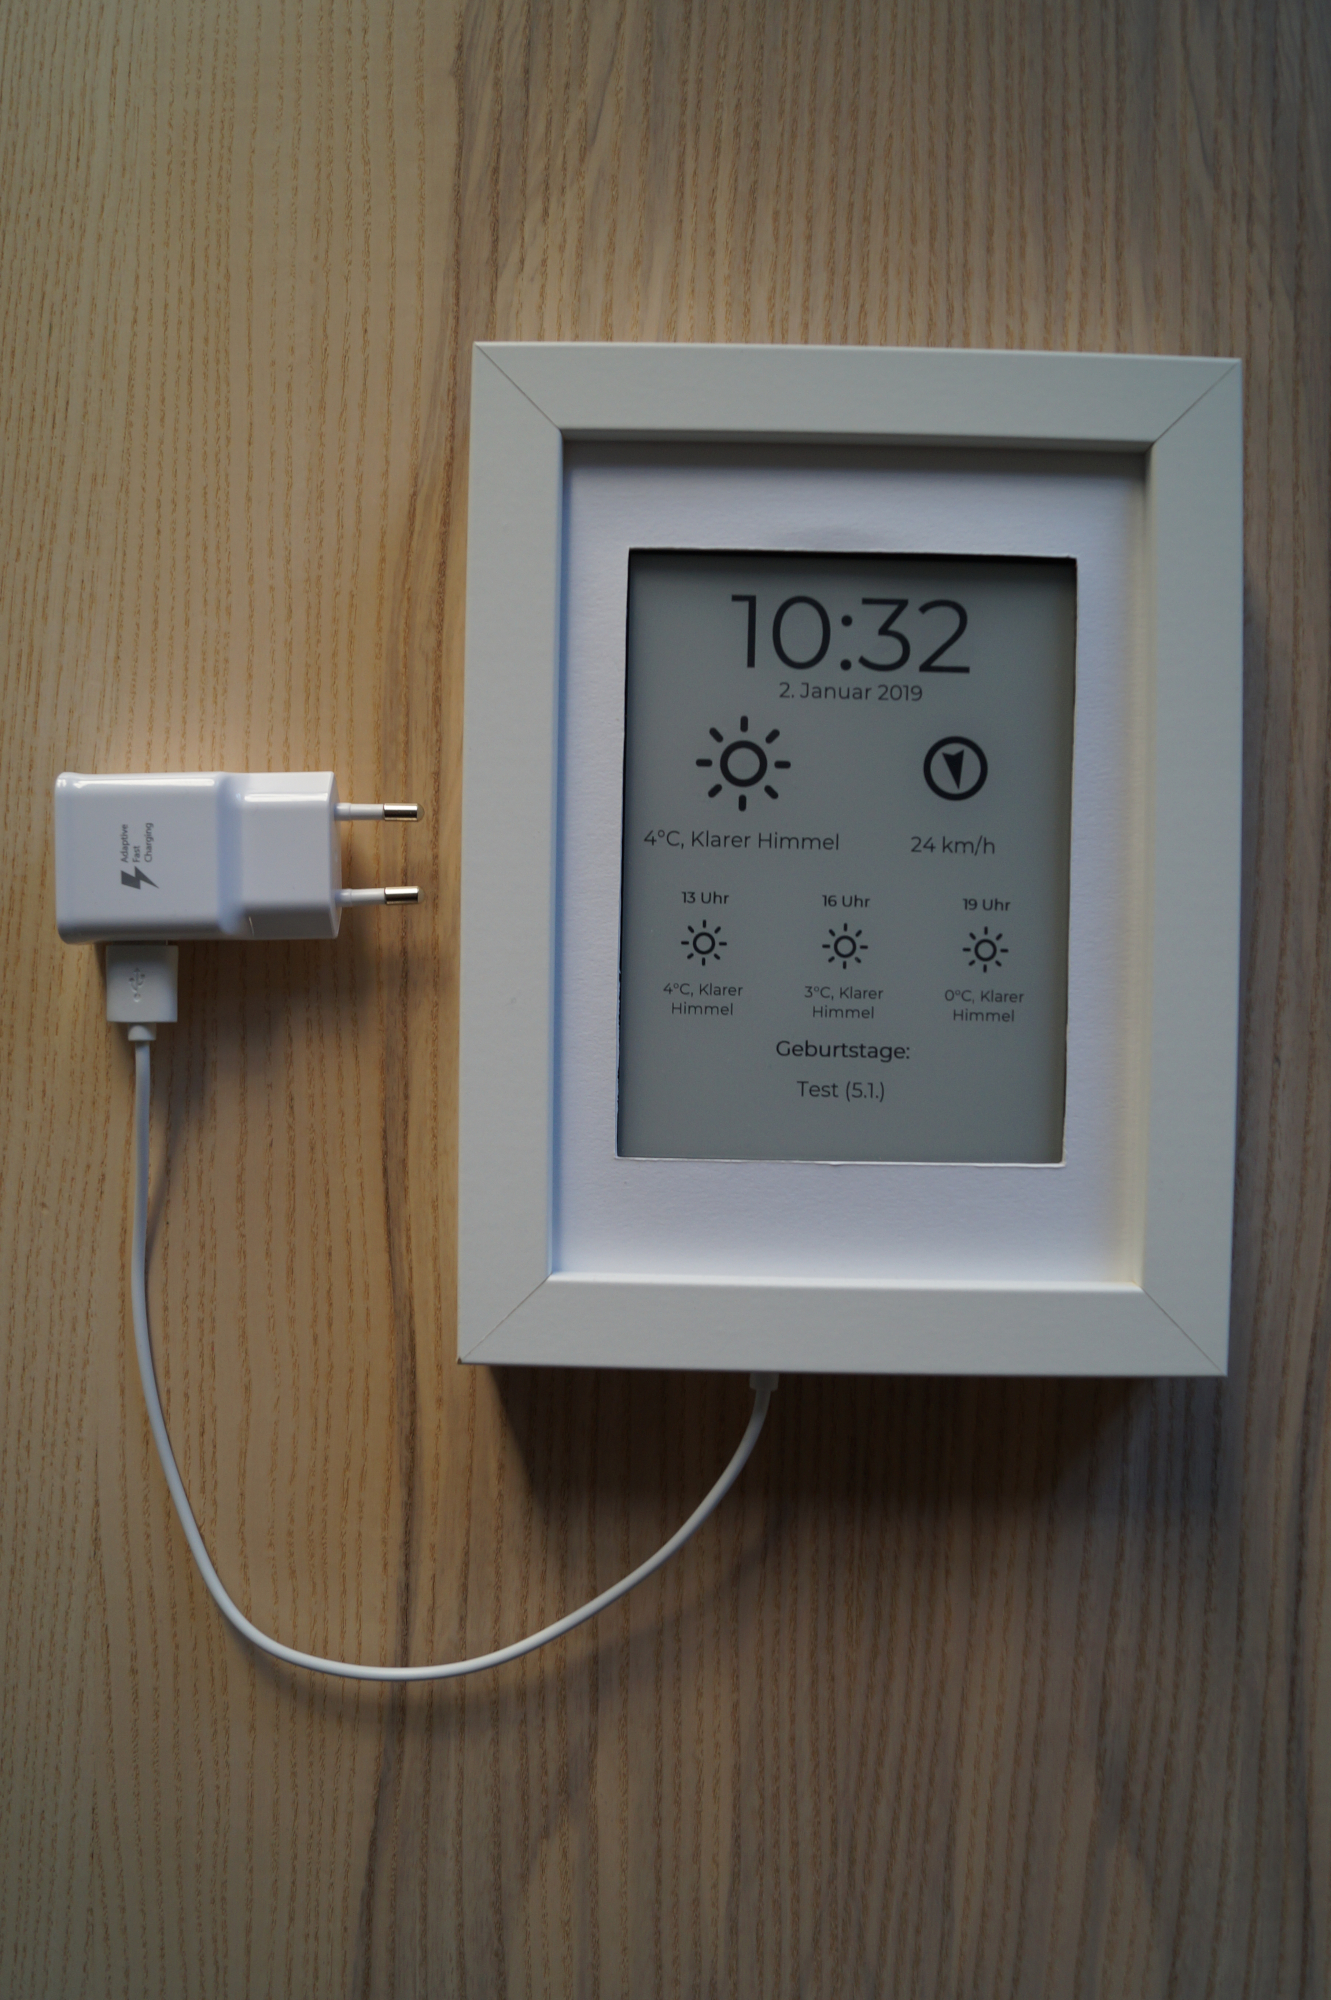
Conclusion
I have been using the Kindle as an information display for about 2 months now and am pretty happy with it. It serves its purpose pretty well and consumes very few energy thanks to the e-ink display. As a bonus, the display is back-lit and you can read everything at night without having to turn on the lights.
As I said before, I would like to exploit the possibility of using the touch screen for something (more) interactive. But I haven’t figured out a reasonable usecase yet. If you have any ideas, suggest them in the comments, please!
At last, here are some images of the finished “product”: